Get a free Giffgaff Sim

Thursday 24 October 2013

Converting Cheap HDMI switch to usb. with added php magic

Finally got round to adding some usb goodness to a cheapy hdmi switch  I got off ebay.

it has 3 inputs and is controlled by a button in the center to choose which channel  is active, it has auto detect but i tend not to switch anything off so thats useless, plus having to get out of bed once I've got comfy to change inputs was slighty 2001 so...

out the goody box comes a minimus avr dev board i acquired of ebay fairly cheap, it has an at90usb162 mcu that can be persuaded to work with the arduino ide.

few blobs of solder and some wire, and an npn transistor (to emulate the button press) later we have a usb controlled hdmi switch.

Now i couldn't just stop there...

My hp micro server is also stashed in my "wardrobe"  with the switch so I have plugged the switch into that, and with a bit of php magic the I now have a web controlled hdmi switch

Now i couldn't just stop there...

There's this awesome app called tasker for android that pretty much lets you automate everything, so with a task setup to http get my php code I now have a button on my phone to change inputs.


Friday 3 May 2013

It lives!!!

So after assembling the first 1 1/2 boards with a mixture of hot air and soldering iron (I love how the surface tension of the solder paste auto aligns everything up with hot air) and it turned out quite well. 
I've spotted a few "mistakes" on my part but nothing a revised board wouldn't fix.. all part of the learning curve I guess.


 So the main purpose of these boards is to have a simple and low cost way to use canbus, for me this will be used with automotive projects..

This one will be an addon for Megasquirt so it can relay analogue and digital values back to the ecu for logging, so thing like additional temperature sensors or extra switches.

once I managed to get the arduino boot loader onto the atmega I uploaded my transmit test code that I had used on my arduino and diy canbus shield. 

It lives!!!

So now I'm in the process of making the code into 2 librarys for arduino. the first is a modified canduino library to work with 29bit headers.

the second is a fully automatic megasquirt canbus protocol decoder, once loaded this will automatically respond to any relevant message.


Saturday 20 April 2013

My purple ser kit boreds have arrived!!!


Yee ha my boards came today, after battling with upverter to design the schematic and pcb  (which actually is a pretty good design tool once you work around the quirks) I put an order in with oshpark.com.

Im glad I did as i cant get over how sexy the purple and gold looks in the flesh.

Ive spotted one mistake so far but nothing major and there might be a few fine lines with the ground fill not being thick enough.

I can't really complain for my first ever production boards, one thing I know ill do for next version is make it smaller, and try plan ground and power distribution better. These cost £35 for 3 boards and there is alot of wasted space.

Next board to order is the thermocouple amp which sits on top kinda like an arduino shield.

 Then its back to the drawing board to make v2.

Next cheque im really temped to buy the bits to diy etch some boards.  the cost and turn around of pro boards isnt worth it while I'm still learning the ways of pcb design.

But if you're after high quality boards with a quick turnaround oshpark.com is the place to be...


Monday 25 March 2013

Designing projects with Circuits.io and Upverter

I've been wanting to get into designing my own boards for projects and decided to give a cloud based system a go.

The idea is great but both systens are still very beta, lack of manuals and lots of crashing has put me off.

hopefully I can export my project and just bite the bullet with kicad. maybe it will take off in 12 months time.

Saturday 16 February 2013

Making the WR702n run openwrt part 1

After blindly buying a blue tplink router off eBay at 3am, it turns out I bought the WR702n instead of the openwrt friendly WR703n.

The wr702n runs vxworks and only has 2MB flash and 16MB ram and no USB, This isn't enough for openwrt.
It turns out that other fellow hackers have upgraded the flash and ram on the 703 so I'v done the same to the WR702n.

Getting the Parts...

First port of call is to find suitable flash and ram chips.
I have bought MX25L6445EM2I-10G from china and a 512MB sodimm DDR ram stick to harvest the Hynix HY5DU121622DTP-D43 chips.

Replacing the ram...

Changing the ram first seemed best as vxworks would still run once done..
so out with the Hot air and chip Quik and we now have a 64MB ram chip installed.

 
Ram chip removed with flux and hot air


64MB RAM and serial wires.
Vxworks still booted so ram success fully swapped (first boot too).


The flash chip...

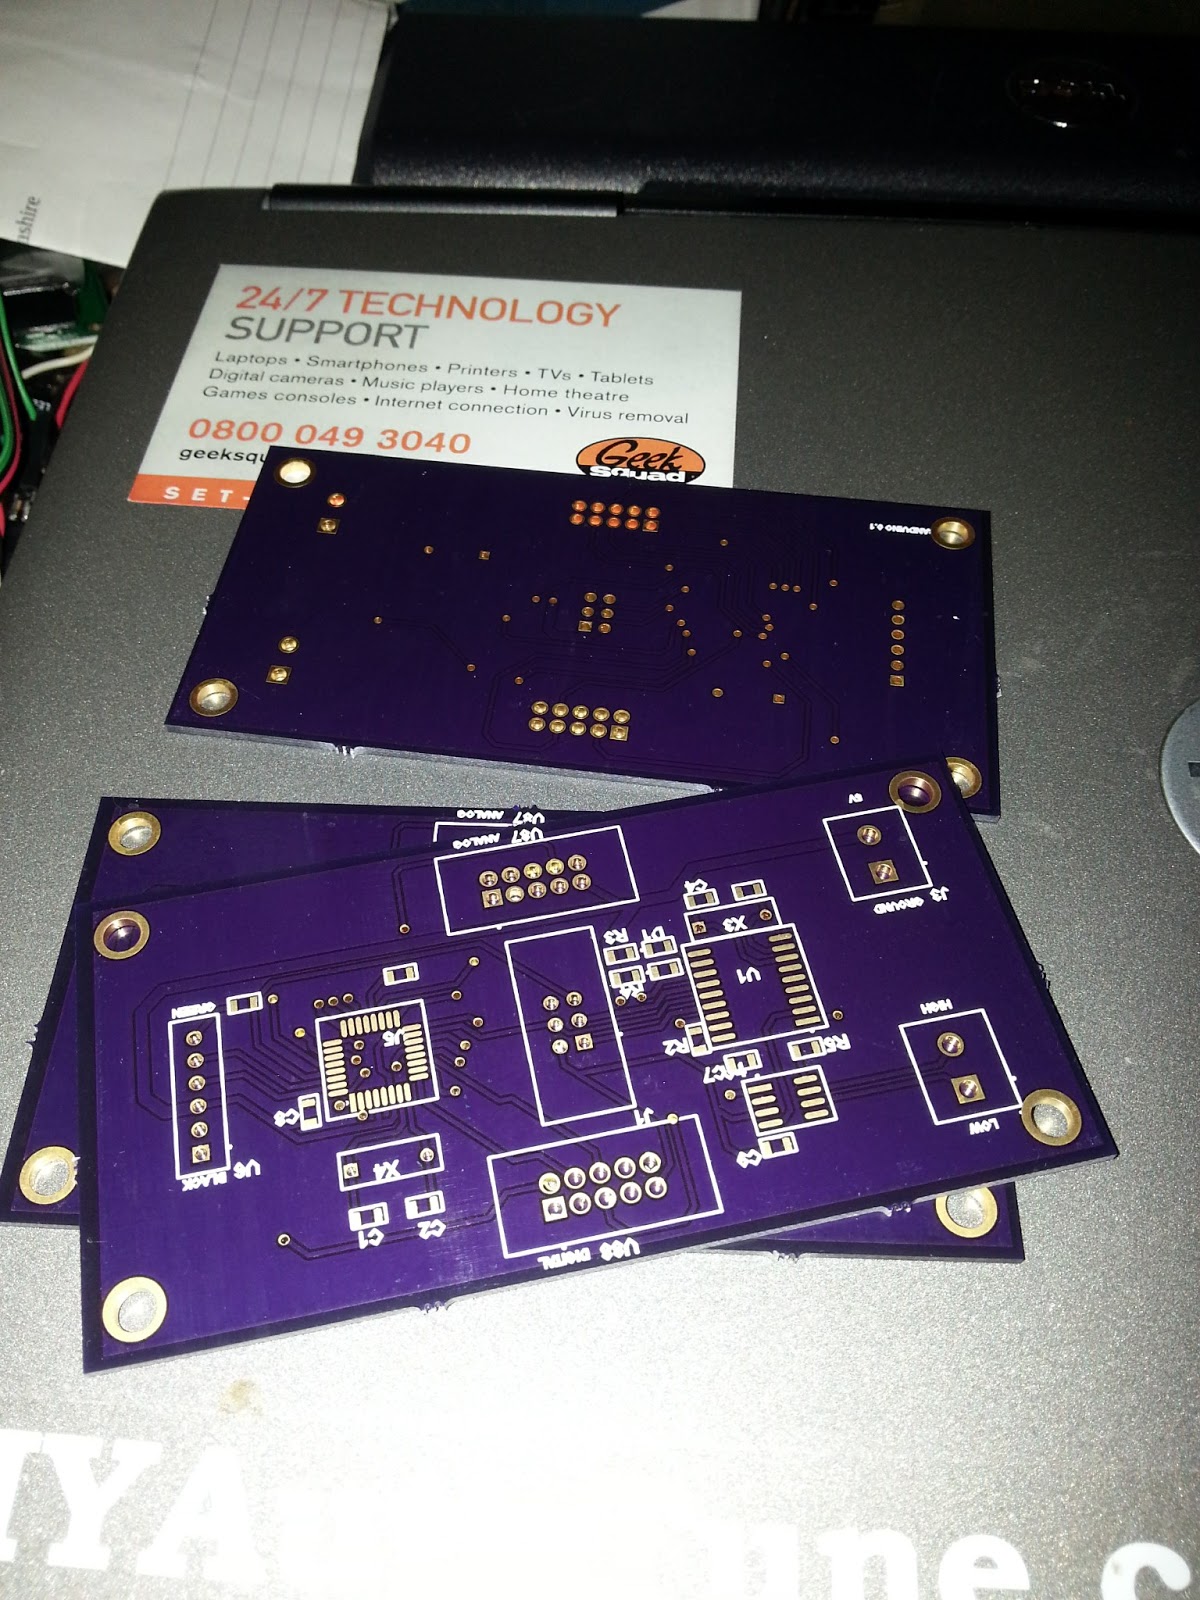
I needed an spi flasher of some kind, I had seen the bus pirate being used but I don't have one and didn't fancy buying anymore tools if I dint need to.

Arduino mini pro (3.3v) with spi chip attached to wires. Full size arduino used just for usb to serial.
After spotting  a post on hack a day using an arduino to program the chips, I installed Ubuntu and programmed serprog onto an arduino mini pro. It took a bit of fiddling to get it recognized by flashrom but after a few port speed issues I was able to dump the contents of the new chip.

DAS U-boot...
Now with it all ready to go I needed to find a copy of uboot to install. turns out there's an awesome version with an http server built in for flashing.

Wrote that to the chip with flashrom, verified it and then soldered it in place of the 2MB chip.

Success!!!

powered it up and uboot started to scroll messages in putty. Next was to get openwrt installed.
Turns out the http server is a bit temperamental and only likes firefox 13.0.1? 

after programming the latest sysupgrade file for openwrt it flashed itself and rebooted and was greeted by the boot log of openwrt :)

To be continued...

I still need to recover the unique "ART" partition from the original 2MB flash chip so the wifi will work.

I also need to update uboot for 8mb as it only can access the first 4mb atm. 

Lastly the usb port needs to work so I just need to add some components to get that working too.